Tutorial Tuesday: Peter Pan Collar
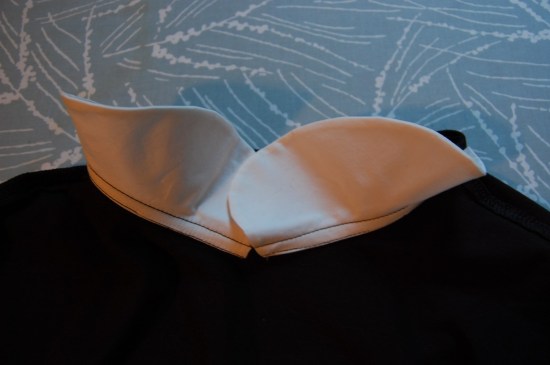
A couple of weeks ago I was happy to discover an email in my inbox from a reader named Fabiola, requesting a tutorial for a collar like this one:

I’m not sure where she got this image, but to me it looks like a collar on a dress Alexa Chung would wear. I swear I saw a photoshoot of her wearing a black dress with a white collar somewhere, but I can’t find it right now, so you’ll have to settle for the dress from her Madewell collaboration. Anointed as a fashion It-girl by the press, Alexa Chung’s style doesn’t really inspire me, but I do like Peter Pan collars. So I got to crafting when I got this request. Which brings me to this: if you have tutorial requests, I’d love it if you’d leave me a comment or send me an email. I can’t promise to make a tutorial for them all, but I’ll see what I can do!
Materials:
Crew-neck t-shirt or dress
Woven fabric (cotton is a good choice)
Sewing machine
Iron
Needle
Thread
Scissors
Printer
Methods:
The template I made for this project will work for most crew-neck shirts, but if you need to make your own template, here is an excellent tutorial. You also need to keep in mind that if you’re adding the collar to a shirt or dress without a closure (meaning the collar stretches in order for it to fit over your head), the part you sew the Peter Pan collar to will no longer be able to stretch. You may need to make the template smaller or find a shirt with a larger neck opening. This is the shirt I used.


Click to display full-size.
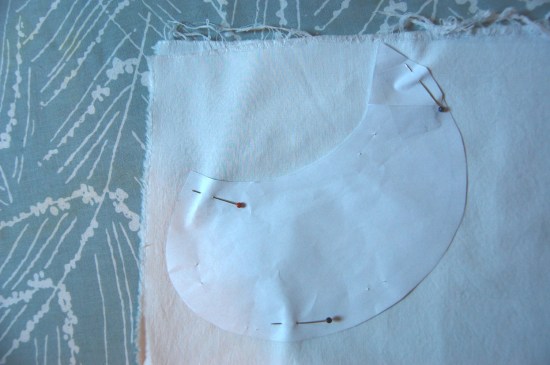
1. Print out the collar template full-size and cut it out. Fold your fabric in half right sides together, pin the template to it on the bias, and cut it out twice, so that you have four collar pieces.

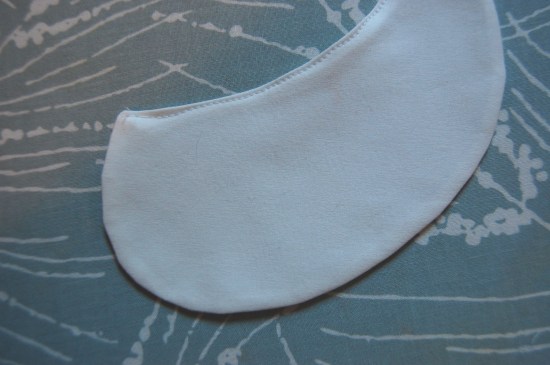
2. With the right sides together, sew two of the collar pieces together along the curved bottom edge, using a 1/4 inch seam allowance. Clip the curves and then trim the seam allowance (I don’t have a photo of this last part).


3. Turn the collar pieces right-side-out and iron.

4. Fold the top 1/4 inch edge in and sew along the top of the collar piece to encase it.
5. Turn your shirt inside-out and mark the front center. Pin the collar pieces to the shirt so that the top edge overlaps the original shirt collar by 1/2 inch.
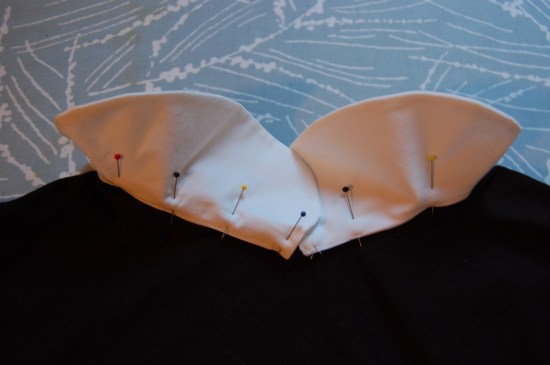
6. Sew the collar to the shirt with two seams, one 1/4 inch from the edge of the Peter-Pan collar and the second right at the edge. You’ll want to use a thread color that matches your shirt, not the collar.
The inside of the shirt:
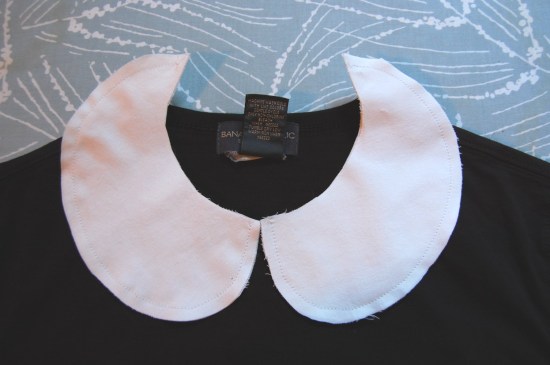
7. Turn the shirt right-side out, fold the collar over to the exterior, and iron it in place.

Looking for more tutorials and DIY projects? Check out my What I Made page!
Trackbacks
- Matching Monday – 20s Child « Teaparties & Fairytales
- A moda do colarinho – Moda – Fashion4Fun
- Verão recatado!! « Tip Chic
- BLOGS TO LOOK AT « thedevilintexas
- Mes coups de coeur de la semaine #5 : une histoire de col. « 36 (mille) projets !
- Adventures in sewing: Striped shirt + peter pan collar = navy at it’s best! « maedchenmitherz.
- Daily Outfit: Born to Ride | The reFind Rebel
- Matching Monday – 20s Child | Hedgefairy Tales
- Sewing Tutorials: Best Objects for Starting to Sew | We Love Superprof - UK
- Sewing Tutorials: Best Objects for Starting to Sew | We Love Prof - AU
- Sewing Tutorials: Best Objects for Starting to Sew | We Love Prof - IN


That’s super cute and so well explained. Thanks so much, I’ll be linking.
thank youuuuuuuu!!
Very well done. I have mixed feelings towards Peter Pan collars though after being forced to wear them at school for 6 years.
Thank you so much! i was so busy with finals i forgot entirely about sewing, but THANK YOU TONS!:)
Thanks for this tutorial, worked wonders! i linked u from my blog! :)
J, you’re welcome! I love how your dress turned out!
omd, my textiles teacher is super rubbish and your AMAZING!! thank-you so much :)
Hannah, thank you! Hope it helps you :-)
thank u so much, definately making one of these when i get home (;
Thanks so much for this!
You’re very welcome!
Thanks so much again! I just made it today and it looks awesome! :D Awesome instructions!
thank you so much! i’ve been looking all over for some clear instructions and yours are by far the best. unfortunatley im stuck on stage 5, could you please help me? thanks once again!
Hi Claudia. Sorry you’re stuck! Hmm, explaining this in words is difficult, so I took another picture of my shirt. This is the outside, with the collar flipped up and the seams drawn in red. After you sew those seams you just fold the collar down. Hope this helps! If you’re still stuck let me know and I’ll try to clarify further.
ooh! i get it now! haha, thank you, i cant wait to do another one :) x
Claudia, glad I could be more clear and it worked for you! Sorry for the confusion.
love how great you explain it!, gonna try it tomorrow!!! i have a post where i show one outfit with a collar shirt, check it out
http://al-sadaqah.blogspot.com/2011/09/sunglasses-1970sthrifted-shirt-tous-bag.html
I love it!!! I’ve been for a long time looking for some tutorial like this, buecause every peter pan collar that I found wasn’t sewed at the shirt. Thanks so much!
Specifically, a physicist or an engineer (say) at a university can, for
the most half, carry out their work without the need for specialist mathematical enter https://math-problem-solver.com/ .
There are two huge but associated variations between coaching for
math and coaching for battle.